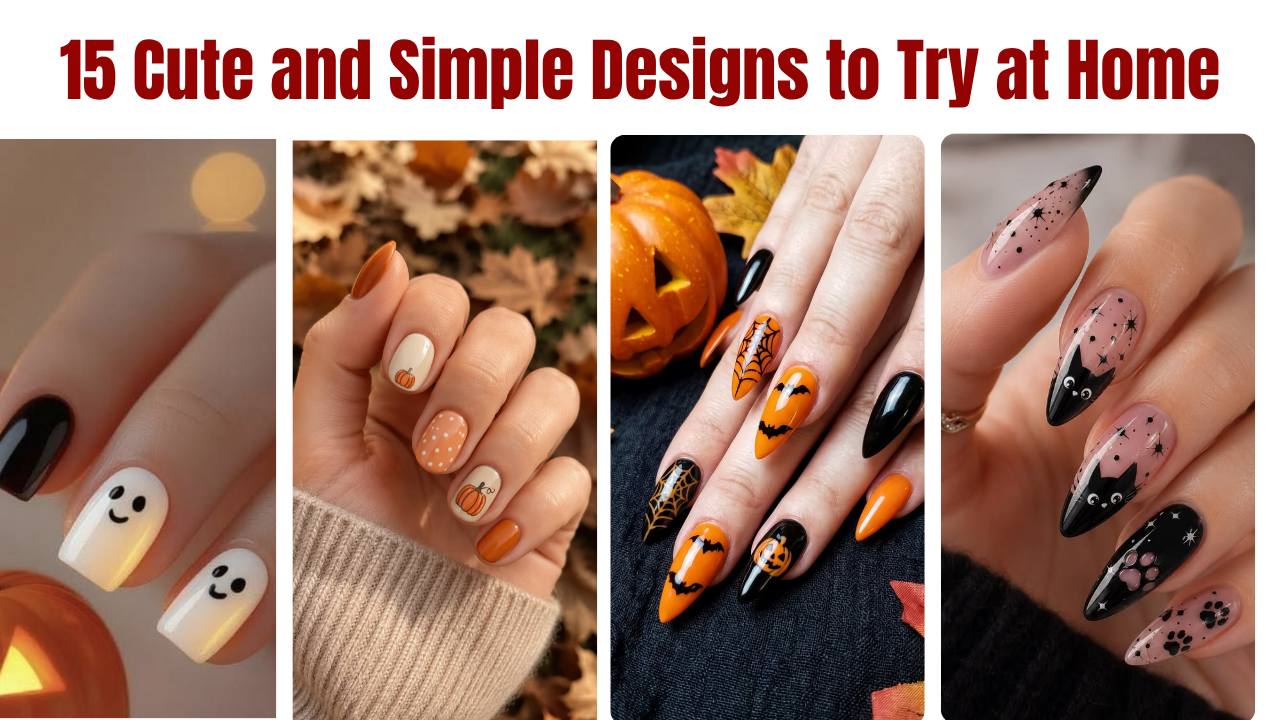
Easy DIY Halloween Nails
Halloween is the perfect time to try fun and creative nail art. You do not need expensive salon visits or professional skills to get beautiful Halloween nails. With a few nail polish colors, simple tools, and a little patience, you can create cute designs at home.
These easy DIY Halloween nails are perfect for beginners who want festive nails without complicated steps. From tiny ghosts and black cats to pumpkins and spider webs, there is a design for every style. Whether you love cute, spooky, or minimalist nail art, these ideas will help you get ready for Halloween.
1. Easy Ghost Nails
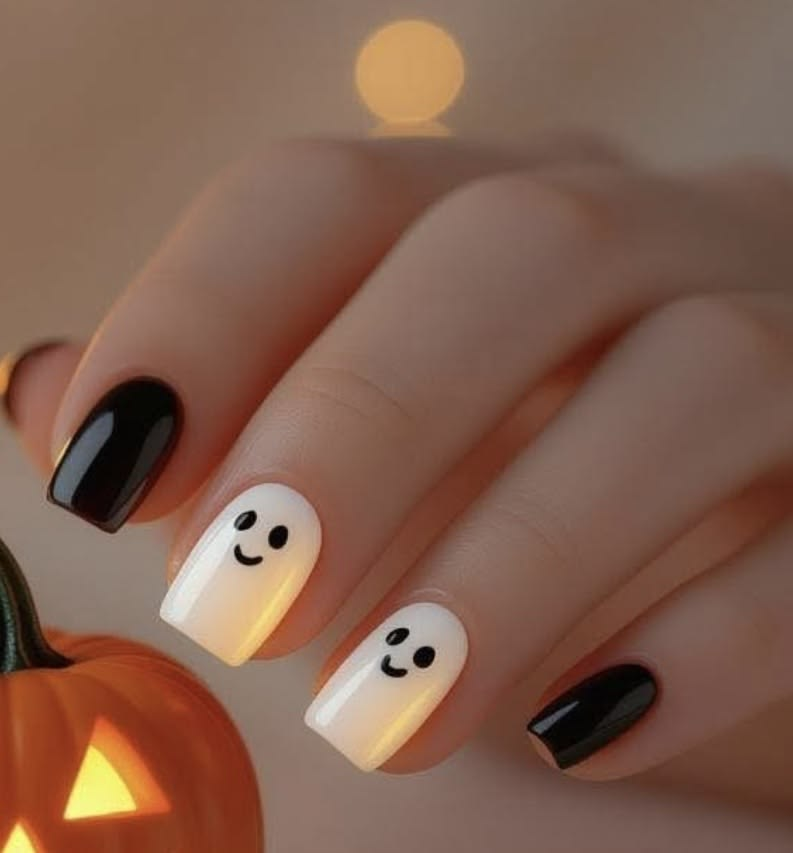
Ghost nails are one of the cutest Halloween nail designs you can make at home. Start with a nude, pink, or black base color. Use white polish to create small ghost shapes, then add two tiny black dots for the eyes.
You can paint one ghost on each nail or keep the design simple with a single ghost on your ring finger.
2. Simple Pumpkin Nails
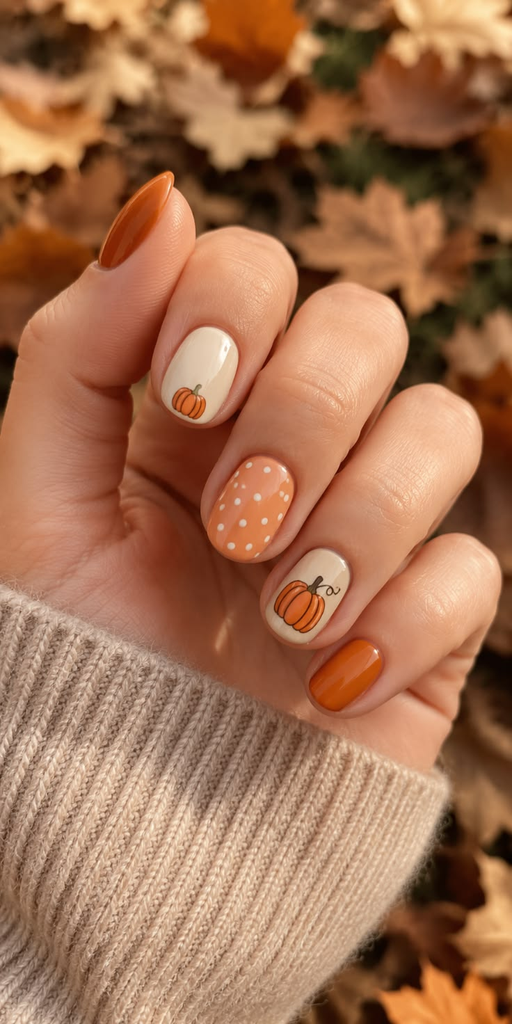
Pumpkin nails look festive and are surprisingly easy to create. Apply an orange nail polish as your base or paint small orange pumpkin shapes over a nude background.
Use a thin brush to add a green stem and a few curved lines. If you are a beginner, try pumpkins on only two nails and keep the remaining nails orange or nude.
3. Black and Orange Nails
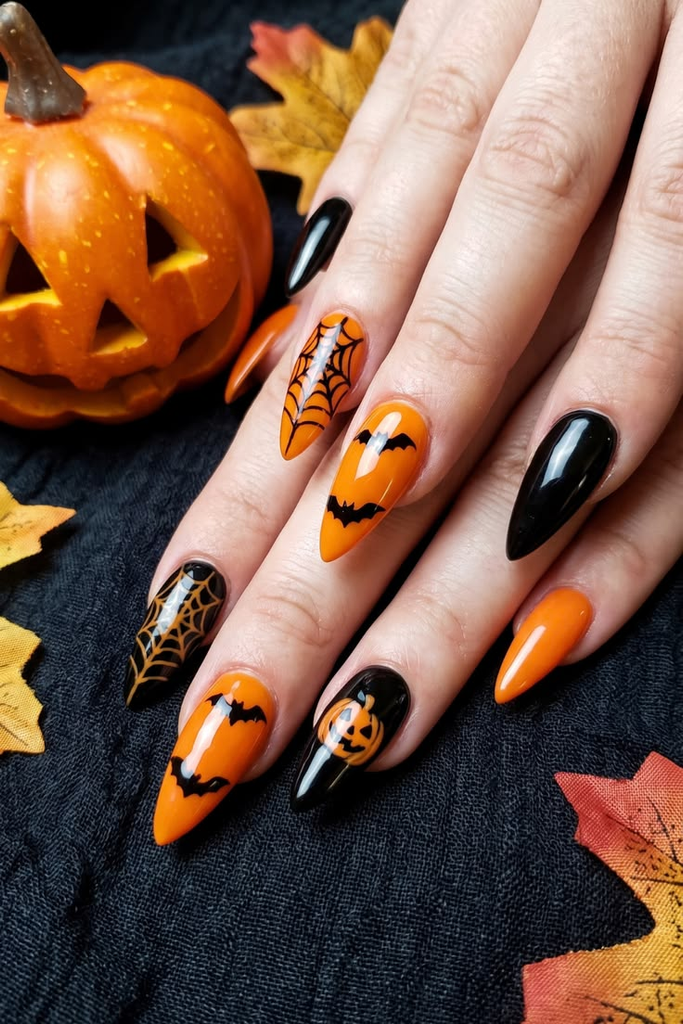
Black and orange are classic Halloween colors. You can create a simple design by painting some nails black and others orange.
For a playful look, try alternating colors on each finger. You can also add tiny dots, stars, or stripes to make your manicure more interesting without spending too much time on details.
4. DIY Spider Web Nails
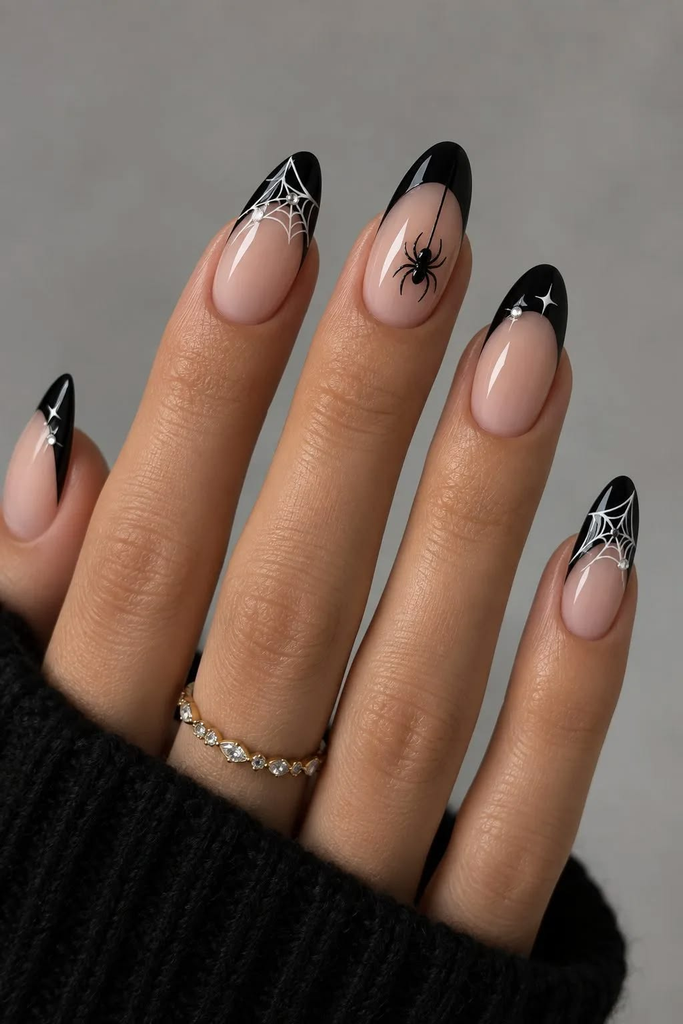
Spider web nails are ideal if you want a spooky but stylish manicure. Start with black or dark purple polish and let it dry completely.
Use a thin nail art brush or toothpick with white polish to draw three or four lines from one corner of the nail. Connect them with small curved lines to create a web. A single spider web on an accent nail can look especially elegant.
5. Cute Black Cat Nails
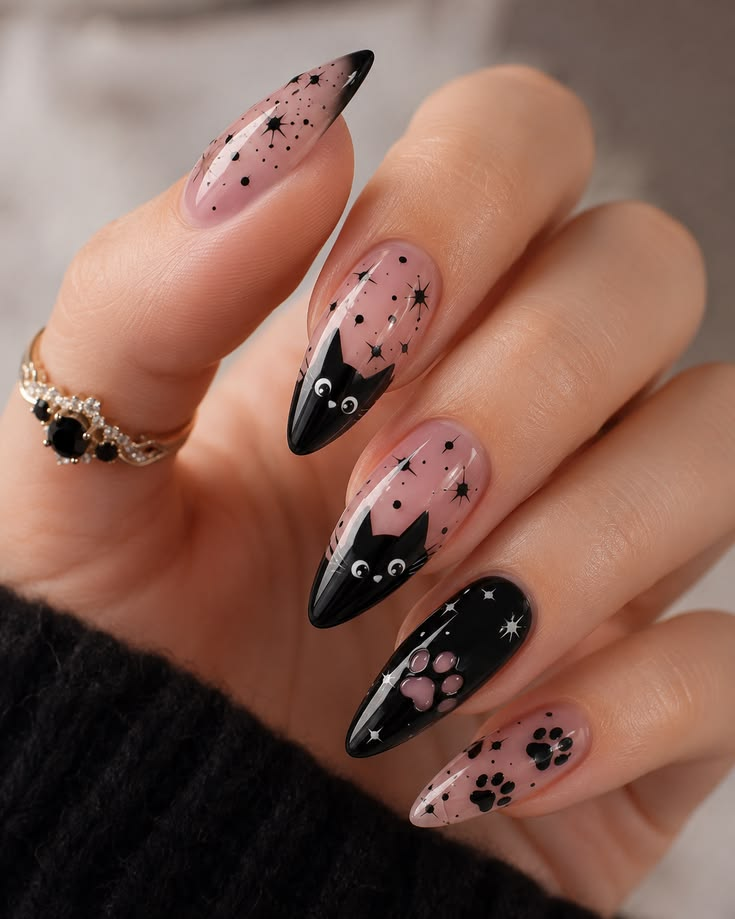
Black cat nails are perfect for anyone who loves cute Halloween designs. Paint your nails a light nude or pale pink shade to make the cats stand out.
Use black polish to create a small circle for the head and two pointed ears. Add tiny eyes with a contrasting color. If drawing a full cat feels difficult, try simple black cat silhouettes instead.
6. Bloody Red Halloween Nails
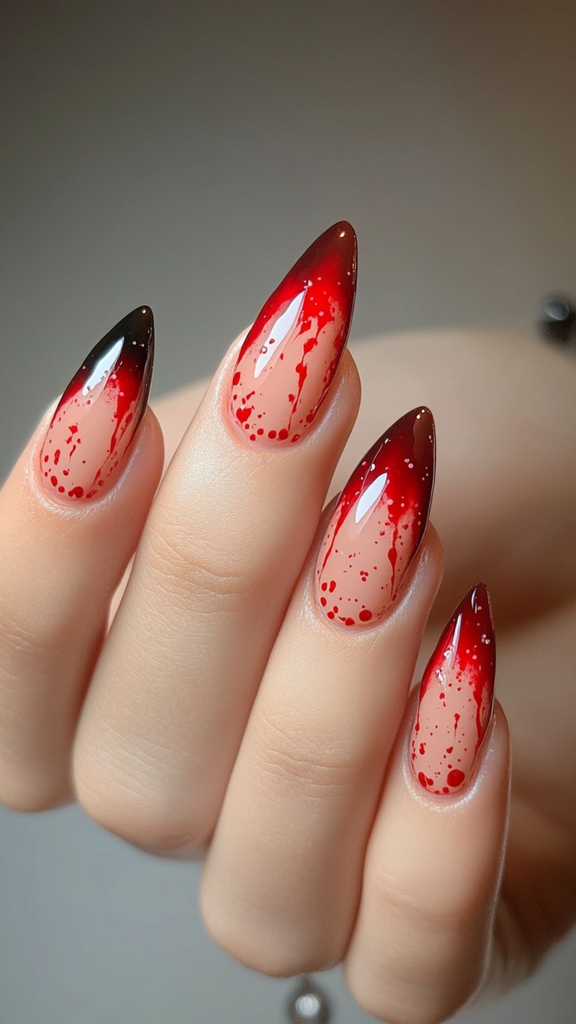
For a dramatic Halloween look, try red nails with a few dark red or black details. Apply a red base coat and allow it to dry.
Add small dark-red drips near the tips to create a spooky effect. You can also use a black base with red accents for a darker appearance. This design works well on both short and long nails.
7. Minimalist Halloween Nails
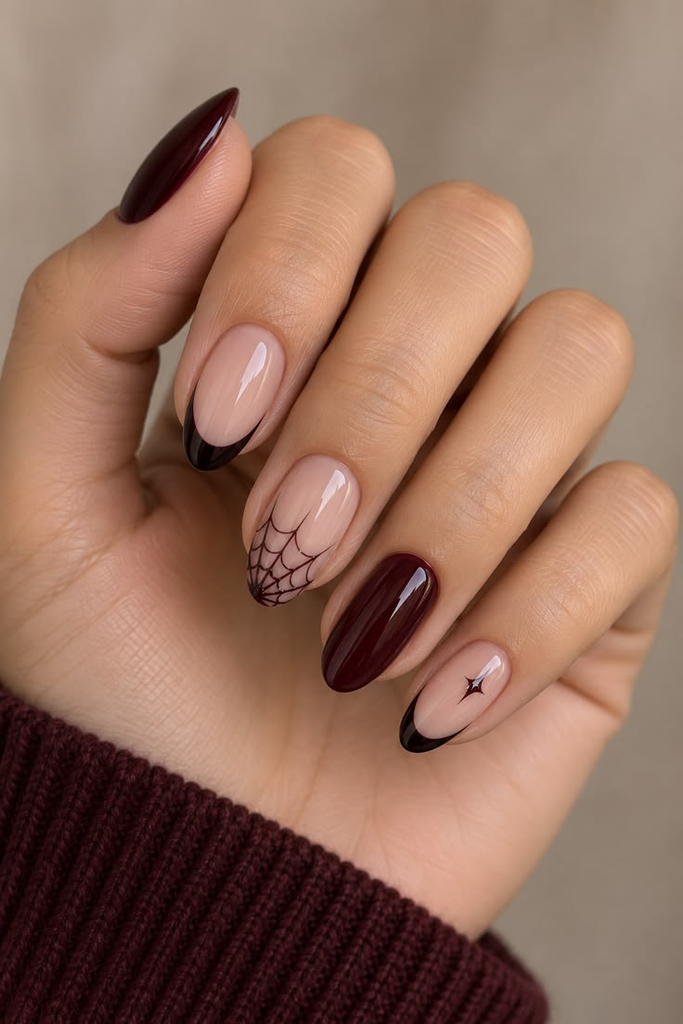
You do not need a different design on every nail to enjoy Halloween nail art. Start with a sheer nude, beige, or milky white base.
Add tiny black bats, stars, ghosts, or dots to one or two nails. Minimalist Halloween nails are a great option if you prefer clean, simple manicures that match everyday outfits.
8. Easy Bat Nail Art
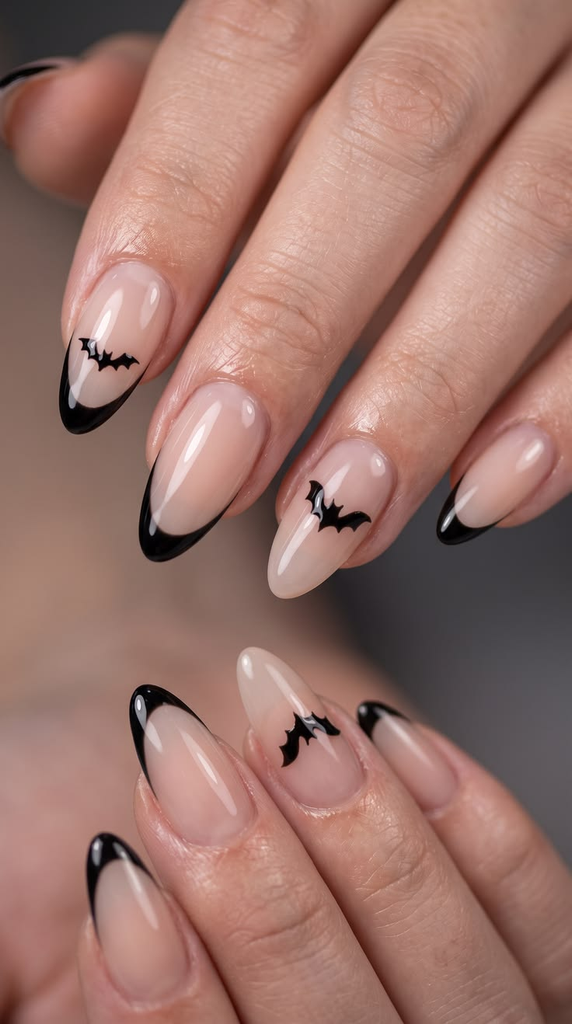
Tiny bats can make your manicure look festive without much effort. Apply a nude, purple, or black base color and let it dry.
Use a fine brush to draw a small black body with two pointed wings. You can also use a small nail art sticker if freehand drawing is difficult. Keep the bats small for a neat and balanced look.
9. Purple and Black Halloween Nails
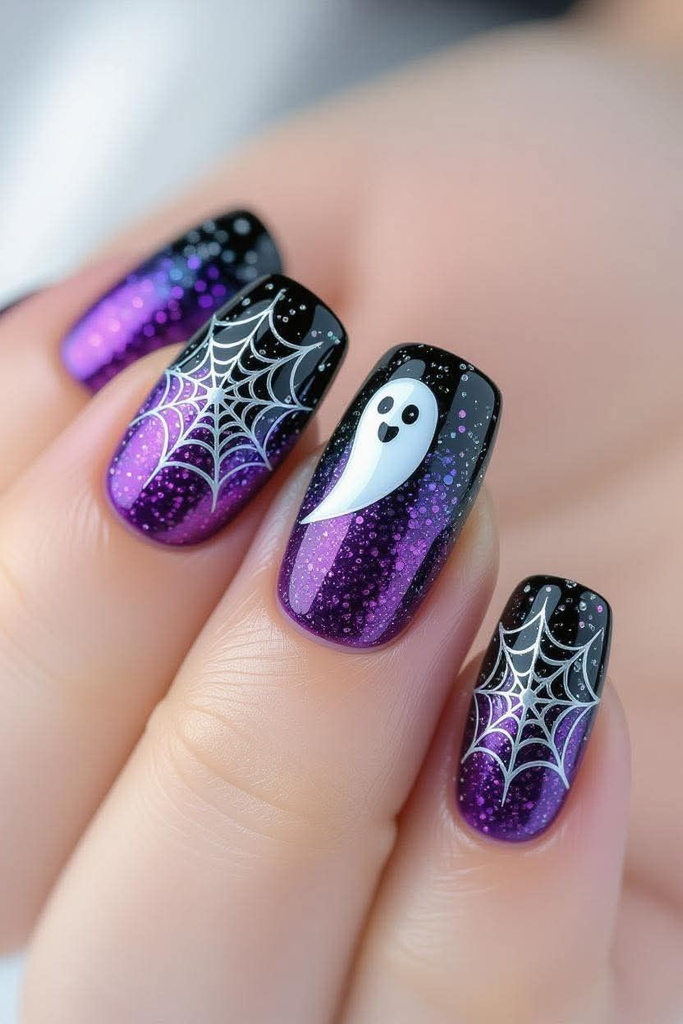
Purple and black create a mysterious Halloween combination. Paint your nails in alternating purple and black shades, or use purple as the main color with black accents.
For extra detail, add tiny stars, a crescent moon, or a simple spider web. Deep purple works well for a dramatic style, while lavender creates a softer and cuter appearance.
10. Candy Corn Nails
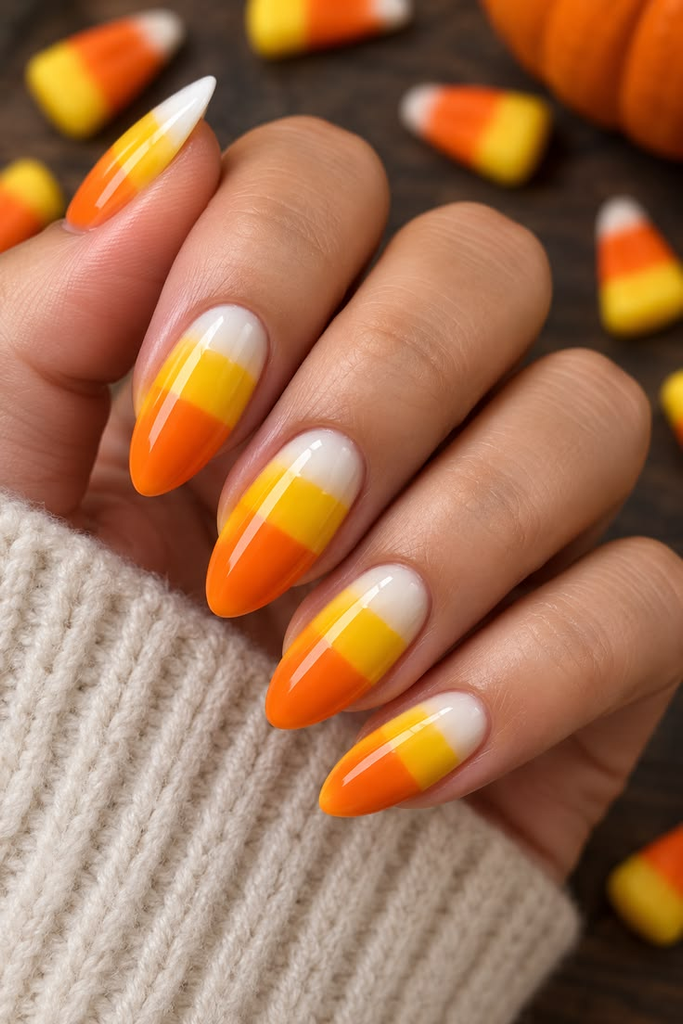
Candy corn nails are a fun choice for a colorful Halloween manicure. Use yellow, orange, and white polish to recreate the classic candy colors.
Paint each nail in three horizontal sections, or create the pattern on just one accent nail. Nail tape can help you make cleaner lines. Let each color dry before adding the next to prevent smudging.
11. Halloween French Tips
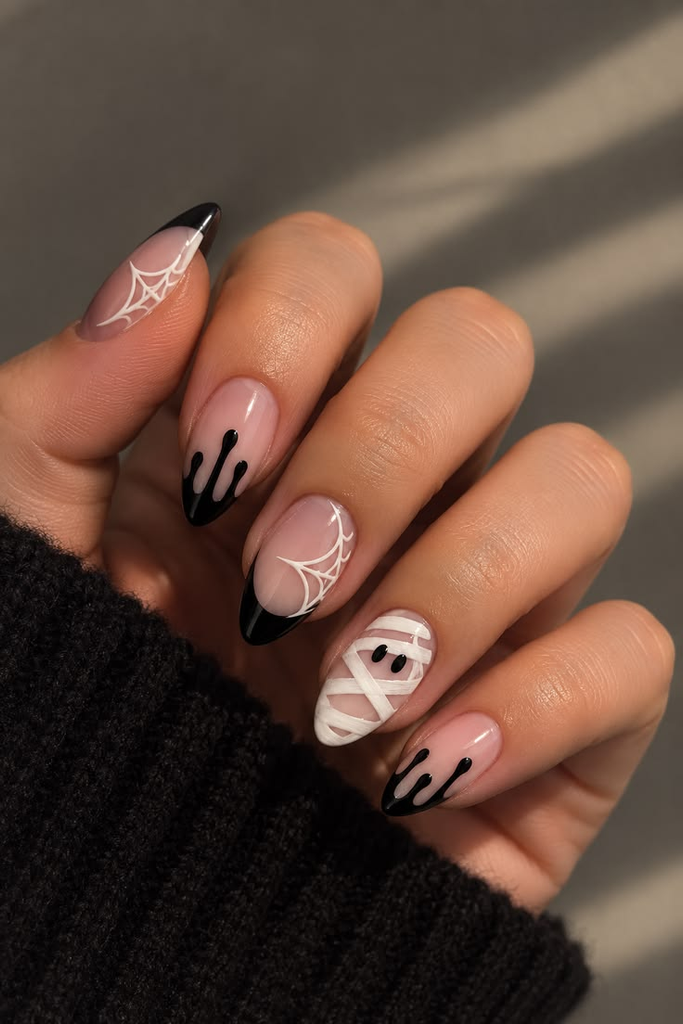
French tips are easy to customize for Halloween. Instead of the traditional white tips, use black, orange, purple, or dark red polish.
You can also paint a tiny ghost or pumpkin on one nail. This design is perfect if you want a manicure that feels festive but still looks neat and stylish.
12. Cute Mummy Nails
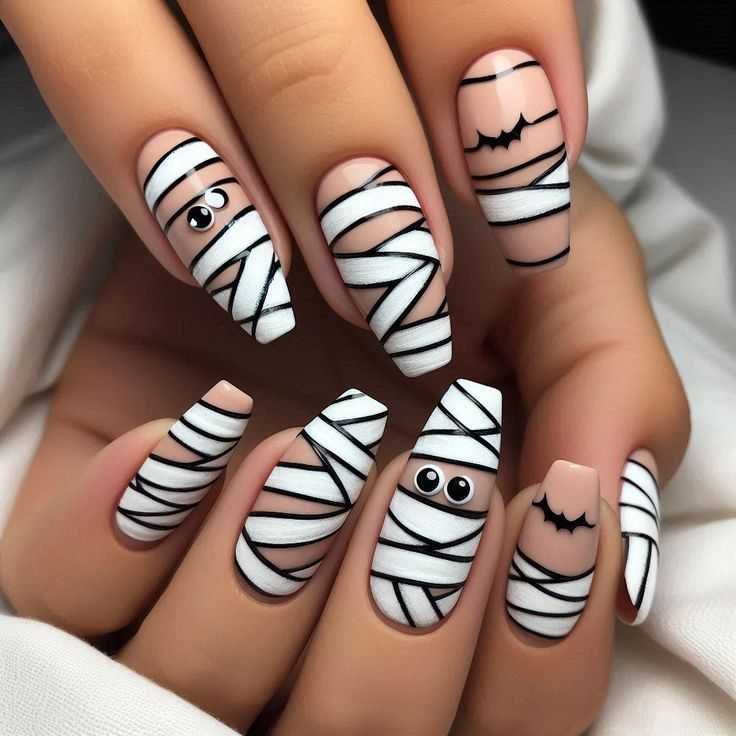
Mummy nails are simple enough for beginners. Start with a white, beige, or light gray base. After it dries, draw thin, uneven black or gray lines across the nail to resemble mummy bandages.
Leave a small space for two eyes, using black dots or tiny stickers. The uneven lines make the design look fun, so they do not need to be perfectly straight.
13. Spooky Star Nails
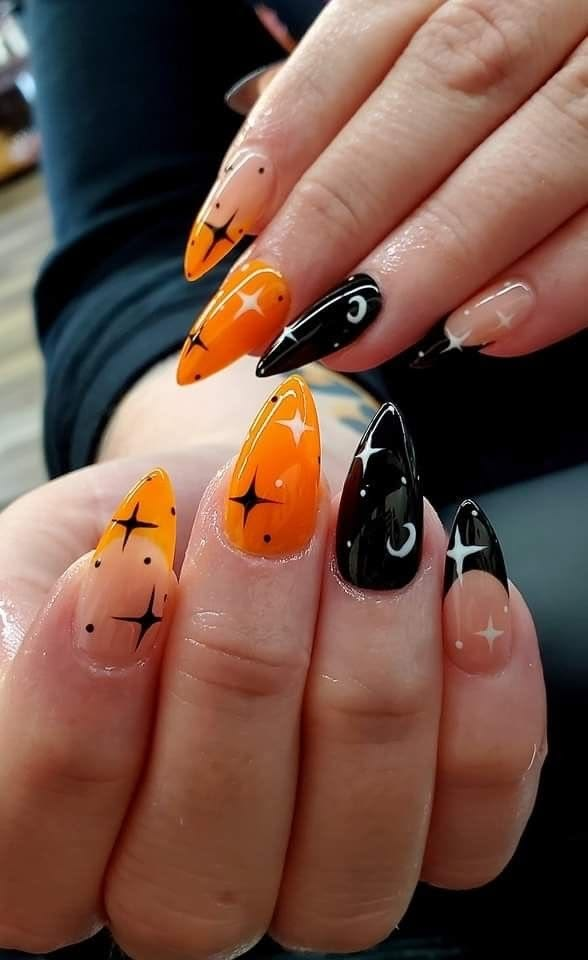
Star nails are a great option if you prefer subtle Halloween nail art. Apply a dark blue, black, or purple base and add small white or silver stars.
You can use a dotting tool, a toothpick, or star-shaped nail stickers. Add a tiny crescent moon to create a magical night-sky look.
What You Need for DIY Halloween Nails
You can create most Halloween nail designs with basic supplies you may already have at home.
| Nail Art Supply | What It Is Used For |
|---|---|
| Base coat | Helps protect natural nails and prepares them for polish |
| Black nail polish | Creates bats, cats, webs, and spooky details |
| White nail polish | Makes ghosts, mummy designs, and web patterns |
| Orange nail polish | Creates pumpkins and classic Halloween looks |
| Purple or red polish | Adds colorful or dramatic details |
| Toothpick or dotting tool | Helps make small dots and simple shapes |
| Thin nail art brush | Creates lines, webs, and tiny details |
| Top coat | Adds shine and helps protect the design |
How to Do Halloween Nails at Home
Follow these simple steps to make your DIY Halloween manicure look neat and last longer.
- Clean your nails: Remove old polish and gently shape your nails with a nail file.
- Apply a base coat: Let it dry before adding your chosen color.
- Choose a simple design: Start with ghosts, dots, pumpkins, or colored French tips.
- Let each layer dry: This helps prevent smudges and uneven lines.
- Add small details: Use a toothpick or thin brush for eyes, stripes, and other decorations.
- Finish with a top coat: Once the design is dry, apply a clear top coat to help protect it.
If you are new to nail art, practice your design on paper first. You can also use stickers when drawing tiny shapes feels difficult.
Tips for Easy and Long-Lasting Halloween Nails
- Start with simple designs instead of trying complicated nail art on every finger.
- Apply thin layers of polish so they dry more evenly.
- Use a toothpick for dots and small details when you do not have a nail art brush.
- Keep cotton swabs and nail polish remover nearby to clean up mistakes.
- Allow the design to dry before applying your top coat.
- Avoid getting nail polish on your skin, and use products according to their instructions.
- Choose colors that match your outfit if you want your Halloween manicure to look coordinated.
Frequently Asked Questions
What are the easiest Halloween nails for beginners?
Ghost nails, black and orange nails, polka dots, and Halloween French tips are among the easiest designs. They require only a few colors and simple tools.
Can I do Halloween nail art without a nail art brush?
Yes. A toothpick can help you create dots, tiny eyes, and simple lines. You can also use nail stickers for ghosts, bats, pumpkins, and other Halloween shapes.
What colors are best for Halloween nails?
Black, orange, white, purple, and red are popular Halloween nail colors. Nude and pink shades also work well as backgrounds for small spooky designs.
How can I make DIY Halloween nails last longer?
Start with clean nails, apply a base coat, use thin layers of polish, and finish with a top coat. Avoid rushing between layers because wet polish can smudge easily.
Are Halloween nail designs suitable for short nails?
Yes. Small ghosts, tiny pumpkins, dots, minimalist bats, and colored French tips look lovely on short nails. Simple designs can also be easier to create on a smaller nail surface.
Final Thoughts
Easy DIY Halloween nails are a fun way to celebrate the spooky season without spending money on a salon manicure. You can create cute ghosts, tiny pumpkins, spider webs, black cats, and many other designs with basic nail polish and simple tools.
If you are a beginner, start with one or two accent nails and keep the rest of your manicure simple. With a little practice, you can create Halloween nail art that looks cute, creative, and perfect for October.